K-Rend is a UK brand of through-coloured render systems, not a type of render in its own right — a build-up of base coat, reinforcing mesh, primer and a coloured topcoat, with silicone in its premium ranges. It gives a coloured, water-repellent, low-maintenance finish that doesn’t need painting and, when correctly applied, is commonly expected to last 20–30 years. As an indicative guide, most homeowners pay roughly £65–£95 per m² fitted.
- “K-Rend” is a brand, not a render type — the closest generic term is a through-coloured, silicone-enhanced render.
- It’s a system, not a paint: base coat, reinforcing mesh, primer and a through-coloured topcoat, most commonly in a scraped or dashed finish.
- Through-coloured means the colour runs through the topcoat, so there’s no paint film to flake and no repainting cycle.
- Indicative UK cost is around indicative £65–£95/m² fitted; a 3-bed semi (three walls) is commonly indicative £8,000–£12,000.
- Its most common real-world issue is surface algae on cool, shaded or north-facing walls — a cleaning task, not a failure.
- The base coat beneath — HP12 or HPX — is chosen to suit what the wall is built from, with the reinforcing mesh bedded into it.
What is K-Rend?
The first thing worth clearing up is the most common misunderstanding about K-Rend: it is a brand name, not a kind of render. K-Rend is the brand of Kilwaughter Minerals, a Northern Irish manufacturer, and the name has become so familiar that many homeowners now say “K-Rend” the way they say “Hoover” or “Tarmac” — as a generic word for a whole category of product.
What that category actually is matters more than the badge. K-Rend’s best-known products are through-coloured renders, and its premium ranges are silicone renders — the same broad family as a generic silicone render from any other reputable maker. “Through-coloured” means the pigment is mixed all the way through the topcoat, so the colour is the finish; there is no separate coat of paint that can flake off the top.
So when a contractor quotes you for “K-Rend”, they mean a complete render system using K-Rend-branded products. Other manufacturers make comparable systems. Seeing the brand as one option among several, rather than a unique material, is the key to spending your money well — and it’s a theme that runs through the rest of this guide and our wider overview of exterior rendering.
The main K-Rend systems and ranges
Start reading product names and you’ll quickly meet a wall of codes, but the picture is simpler than it looks. For most homes the conversation comes down to two things: the base coat and the topcoat range. The base coat you’ll most often see named is HP12, a polymer-modified, cement-based layer that the reinforcing mesh is bedded into — our guide to the K-Rend HP12 base coat explains why that hidden layer matters so much. The other K-Rend base coat you may see is HPX, a fibre-reinforced base; which of the two is used depends on what the wall is built from. On top sits a through-coloured topcoat, and here the main split is between K-Rend’s silicone finishes and its other through-coloured finishes. We explain how HPX and HP12 differ, and why the topcoat is the separate choice, in K-Rend HPX vs standard base coats.
If insulation is part of your plans, say so at survey. Render over insulation boards is a different specification from render on bare masonry, with its own design considerations, so don’t assume a standard quote will cover it.
For a homeowner the codes matter less than the principle: you are buying a coordinated system in which the base coat, mesh, primer and topcoat are designed to work together. Mixing products from different systems — or pairing a cheap base with a premium topcoat to shave the bill — is exactly the kind of shortcut that leads to cracking and adhesion problems later. A reputable installer will specify a single coherent system and tell you plainly which range they’re using and why.
How the K-Rend system works
It helps to picture K-Rend as a build-up of layers rather than a single coating applied to a wall. Each layer does a specific job, and skipping or rushing any of them is where most problems begin.
First the wall is prepared. On a sound modern substrate that can mean little more than cleaning and any priming the system calls for; on a wall with old, failing render it can mean hacking the old material off entirely — a messy, labour-intensive stage that adds noticeably to the cost. Next comes the base coat, into which a fibreglass reinforcing mesh is bedded while the base is still workable. That mesh is not optional detailing — it spreads small stresses across the wall and is one of the biggest factors in whether the finished render resists cracking. Beads are fitted at edges, corners and stop-ends to give clean, protected lines.
Once the base has cured, a primer is applied to even out suction, and finally the through-coloured topcoat goes on as a thin finishing coat. The installer then finishes it to the texture specified — commonly scraped back to an even texture, or dashed for a coarser look. The whole job needs safe access and a run of reasonably dry, frost-free weather for each stage to cure properly, which is why a good contractor plans the programme around the forecast rather than the calendar.
What to expect when K-Rend is installed
Knowing the rough running order takes the mystery out of getting quotes and living through the work. It starts with a survey, where the specialist checks the substrate, identifies any damp or movement to deal with first, and confirms the system and finish. From there most jobs follow the same path: scaffold goes up; the wall is prepared (cleaned, or old render hacked off where needed); beads and the base coat go on and the mesh is bedded in; the base is left to cure; the primer is applied; then the through-coloured topcoat is applied and finished by scraping or dry-dashing.
Each curing stage needs time and suitable weather, so the programme is set by the weather as much as by the wall, and strip-and-re-render jobs take longer than rendering over sound masonry. Expect windows, doors and planting to be protected before anything is applied, and expect some mess and restricted access while the scaffold is up. Weather is the variable nobody controls: render shouldn’t be applied in frost, heavy rain or strong direct sun without risking the cure, so a good contractor will hold off rather than rush.
Finishes and shade families
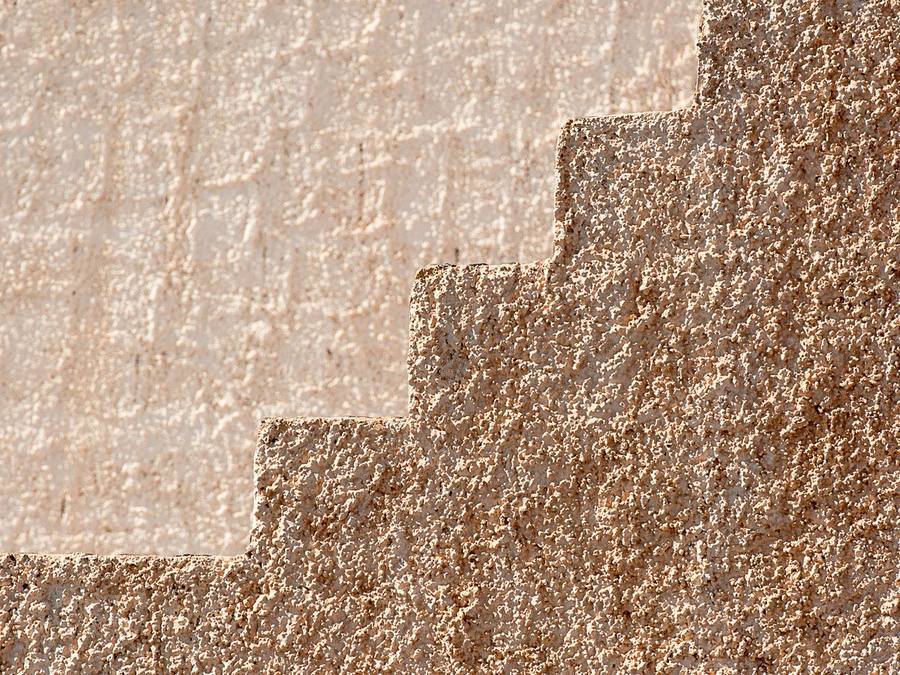
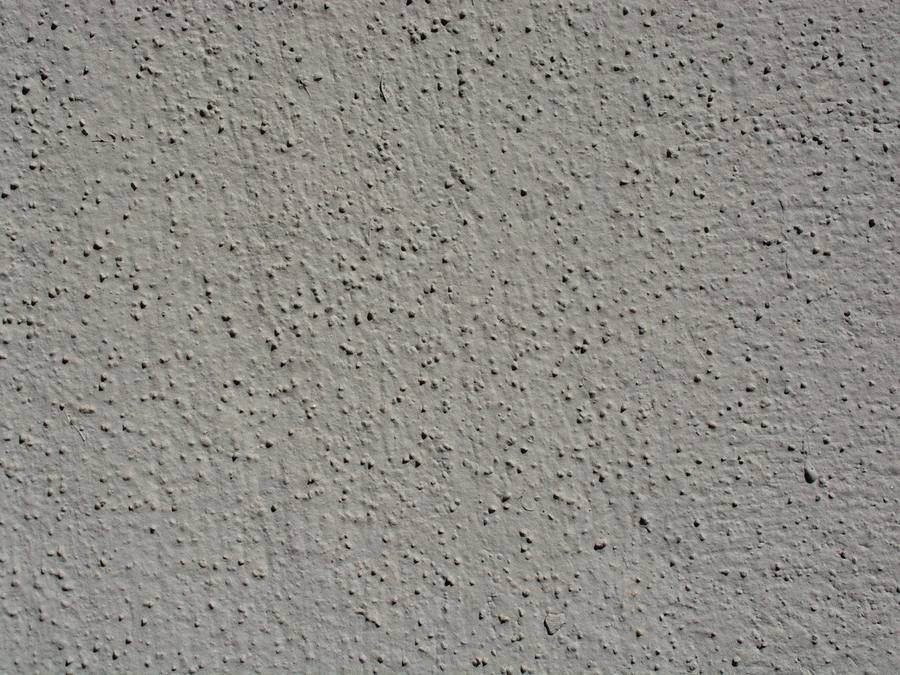
K-Rend is most commonly finished in one of two ways, and other finishes exist in some ranges (smooth float, spray-applied and roughcast). The scraped texture finish is the fine, even, slightly open-grained look you see on a great many modern rendered homes. A dashed or roughcast finish gives a coarser, more traditional texture; it hides minor surface imperfections well but holds dirt and algae more readily, so it’s harder to keep clean. The choice is mostly about appearance and upkeep rather than performance.
On colour, the range is wide and this is where a lot of homeowner research happens. Off-whites and greys are common choices on modern homes, with warmer creams for a more traditional feel. Because the colour is through-coloured, what you choose is effectively fixed until you re-render, so it pays to view large samples on the actual wall in different light. Our K-Rend colours guide covers how to choose a shade you won’t regret.

How K-Rend suits different types of home
The same product behaves very differently depending on what it’s going onto, so it’s worth thinking about your own walls before you think about colours.
New-build blockwork and extensions. This is the most straightforward case: a clean, even, modern substrate with no old finish to remove. The main things to get right are beads, sill and reveal detailing, and a sensible join where the new render meets any existing walls.
Post-war cavity-wall semis and detached houses. Often fine candidates, whether the walls are bare brick or carry an older render. The question is condition: sound, well-bonded brick or render can usually be prepared and rendered over, while hollow or cracked render needs to come off first.
Pebbledashed houses. Case-by-case. Sound, well-bonded dash can sometimes be prepared and rendered over; loose or hollow dash means stripping and starting again, which is a bigger job and priced accordingly.
Older solid-wall and period homes. This is where caution matters most. Solid walls rely on being able to dry out, and an impermeable or overly hard cement-based base coat can trap moisture. Many of these properties are better suited to a breathable lime render system, and a specialist should assess the wall before any modern system is specified.
Timber-frame and non-standard construction. These need a specification designed for the background — often a carrier board rather than render applied straight to the structure — and shouldn’t be priced or detailed as if they were ordinary masonry.
Typical price ranges
Pricing is the question every homeowner wants answered first, so here are indicative ranges. Treat them as a sense-check, not a quote: the real number depends on your wall, and the next section explains the variables.
| Scope | Fitted cost indicative |
|---|---|
| Per m² | £65–£95 |
| One elevation (e.g. front only) | £3,500–£5,000 |
| Mid-terrace (front and rear) | £5,000–£8,000 |
| 3-bed semi or end terrace (three walls) | £8,000–£12,000 |
| Detached house (four or more walls) | £12,000–£17,000+ |
indicative Ballpark ranges to help you plan, assuming sound walls and normal access. For a full breakdown see our K-Rend cost guide and the wider guide to house rendering cost. The only figure that matters for your home is a written local quote.
What affects the price
Two near-identical houses can attract very different quotes, and it’s rarely the render itself driving the difference. The biggest factor is the condition of the existing wall: rendering over a sound surface is straightforward, but if old render or dash has to be hacked off first, that’s extra labour, waste disposal and time — strip-and-re-render work is typically priced at around indicative £100–£170 per m² rather than indicative £65–£95. Scaffolding and access come next, then the finish, the amount of detailing around bays, porches and sills, and regional labour rates.
Range matters too: the premium silicone system usually costs more than the standard through-coloured ranges, though the difference is a modest slice of a whole job compared with access and preparation. If one quote is far lower than the others, the first thing to check is whether it is for the same range, the same base coat and full mesh coverage.
Want a real figure for your home rather than a range? Get a free, no-obligation quote from one vetted local specialist.
Get a free quote →Do you need the brand name?
This is one of the most useful questions in the whole guide, and the honest answer surprises people. K-Rend’s premium products are silicone renders, so comparing “K-Rend versus silicone render” is partly comparing a brand with the category it belongs to. A good-quality silicone render from another reputable manufacturer will, in most cases, offer comparable water-repellency, breathability and through-colour on the wall.
What the K-Rend name genuinely buys you is a recognised brand and a large pool of installers who know the system. That has value — but it doesn’t automatically make it the best buy for your wall. We lay the two out side by side in K-Rend vs silicone render.
Benefits of K-Rend
The benefits are easiest to understand in day-to-day terms. No repainting: because the colour runs through the topcoat, the recurring chore and cost of redecorating a rendered wall disappears. Water-repellence: the surface sheds rain rather than soaking it up, which helps keep the wall beneath drier — especially with the silicone ranges. Movement tolerance: applied over a sound, mesh-reinforced base coat, the system copes with the ordinary thermal movement every house goes through. Appearance: it can transform tired, patched or mismatched brickwork into a single clean, modern face.
Drawbacks and things to consider
No finish is perfect. The most common issue is surface algae: on cool, shaded, north-facing or tree-shaded walls, a green or dark film can appear within a few years. It cleans off, but it’s a maintenance reality. Cracking can occur, usually because of building movement, a poor substrate or missing reinforcement rather than the render itself. There can be a cost premium for the brand or the premium range over a basic system. And crucially, modern cement-based systems are not the right choice for many older, solid-wall or listed homes, where they can trap moisture and contribute to damp.
Common misconceptions about K-Rend
“It’s maintenance-free.” It’s low-maintenance, which is different. Expect to wash shaded elevations occasionally, keep gutters and downpipes working, and keep an eye on sealant around windows and doors.
“It’s waterproof, so it’ll cure my damp.” Water-repellent is not the same as a cure for damp. Rendering over an untreated leak, a bridged damp-proof course or high ground levels simply hides the cause, and moisture trapped behind render can make things worse. Diagnose and fix the cause first.
“Any plasterer can apply it.” Thin-coat through-coloured systems are unforgiving of poor technique — uneven base coats, exposed mesh and visible joins between working areas show in the finish. Experience with this kind of system matters.
“Branded means guaranteed.” Any guarantee depends on who offers it, what it covers and the conditions attached. Ask for it in writing rather than assuming the brand name brings one.
Planning permission and Building Regulations
In England, rendering a house can often be done under permitted development, but not always. In a Conservation Area, National Park, National Landscape (formerly AONB) or the Broads, planning permission is needed before rendering the outside of a house. Replacing render with render of a similar appearance is generally permitted, but changing the type or colour of render can alter the external appearance and may need permission. Listed buildings need listed building consent for works affecting their character, Article 4 directions can remove permitted development rights, and flats and maisonettes don’t have householder permitted development rights. Our guide to planning permission for rendering goes into more detail.
Building Regulations can apply too. If the work involves stripping a wall back to the masonry and re-rendering more than half of that wall, or more than a quarter of the whole building envelope, it may count as renovating a thermal element, meaning the wall should be thermally upgraded where that is technically, functionally and economically feasible, and building control should be notified. Over-coating sound render or patch repairs don’t usually trigger this. Rules differ in Wales, Scotland and Northern Ireland, so always confirm with your local planning authority and building control before work starts.
Common problems and maintenance
Looking after K-Rend is light work, but knowing what’s normal saves a lot of worry. Green or dark patches are usually surface algae feeding on damp and shade; they lift with a render-safe cleaning treatment rather than a pressure washer, which can damage the finish. Our guide to K-Rend going green covers causes and cleaning. Hairline cracks are worth getting looked at early — see K-Rend cracking for what different cracks mean.
A simple routine keeps the wall looking good: walk round once or twice a year, clear gutters and check downpipes aren’t spilling down the face, cut back vegetation that keeps walls shaded and damp, and look at sealant joints around frames. Because K-Rend is through-coloured, the right response to a tired finish is cleaning or, if it has genuinely failed, repair or re-rendering. Painting over it with an unsuitable masonry paint can reduce its water-repellence and starts a repainting cycle the system was chosen to avoid.
What good K-Rend workmanship looks like
You don’t need to be a renderer to judge a finished job. A few things separate careful work from rushed work:
- Even texture and colour across each elevation, without visible patches, bands or hard lines where one working area met the next.
- Straight, crisp beads at corners and reveals, with no mesh or bead edges showing through.
- Render stopped clear of the ground on a bead, above the damp-proof course, rather than run down to the path where it can wick up moisture.
- Sills that throw water clear of the wall below, so rain doesn’t run straight down the new finish.
- Neat junctions around windows, doors, pipes and meter boxes, sealed where the specification calls for it.
- A clean site — protected glass, frames and paving, with splashes removed before they set.
If something looks wrong at handover, raise it then, while the scaffold is still up and fixing it is straightforward.
How to choose a K-Rend installer
Because the result depends far more on workmanship than on the brand, choosing the right installer is the most important decision you’ll make. Ask each contractor to:
- Name the full system in writing — base coat, mesh, primer, topcoat range, finish and colour.
- Confirm mesh coverage across the whole wall, with extra reinforcement at the corners of openings.
- Say what happens if the substrate is worse than expected once any old render is off, and how extra work is priced.
- Show completed jobs a few years old, not just fresh ones.
- Put any guarantee in writing, including who backs it and what it covers.
- Confirm scaffolding, making good and waste removal are in the price.
Manufacturer training or approval is a useful positive sign but not a substitute for those checks — our guide to finding a K-Rend approved installer explains what it does and doesn’t tell you. If you’d rather not vet contractors yourself, that’s what RenderSmart does: SmartMatch™ weighs experience, verified reviews and reputation to pair you with one best-fit local specialist, with no obligation.
Is K-Rend right for your home?
K-Rend is a strong option for modern homes with sound, cavity-wall construction — new-builds, post-war semis and detached houses, extensions, and tired brickwork that needs a clean contemporary face. It’s less suitable for older, solid-wall and period properties, which usually need a breathable system, and for any wall with an unresolved damp or movement problem, which should be fixed first.
It may also not be the right call if your main aim is a small fix. Most of our specialists take on projects from around £3,500, so they’re best suited to larger repairs and re-renders; for a single small job, a local builder or plasterer may be quicker. And if you’d be just as happy with an equivalent silicone render from another maker, it’s worth letting your installer recommend the system they know best rather than insisting on a brand.
The short version: if your walls are sound and of modern construction, K-Rend render is likely a good fit and the main decisions become range, finish, colour and installer. If your home is older, of solid-wall construction, or showing any sign of damp, pause and get a breathability-minded specialist to look before committing to any cement-based system. Either way, the survey is where the right answer becomes clear.
Frequently asked questions
Is K-Rend a type of render or a brand?
Does K-Rend need painting?
How long does K-Rend last?
Why is my K-Rend going green?
Who makes K-Rend?
What base coat goes under K-Rend?
Can K-Rend be applied over pebbledash?
Is K-Rend suitable for older, solid-wall homes?
Does K-Rend crack?
Is K-Rend waterproof?
Get a free K-Rend quote
Tell us about your property and SmartMatch™ pairs you with one vetted local render specialist — for a free, no-obligation quote and survey. No directory roulette, no pressure.
Get a free quote →