You can render over pebbledash if it’s firmly bonded across the wall, free from widespread hollow areas and significant cracks, dry, and not linked to damp inside. A proper over-render involves cleaning and stabilising the dash, cutting out and repairing any weak areas, applying a levelling base coat to fill the stony texture, bedding reinforcing mesh across the whole wall, fixing beads, and then applying a primer and through-coloured finish. As an indicative guide, rendering over pebbledash typically costs around £100–£170 per m², the same band as stripping and re-rendering, because the levelling and repair work takes the place of removal. If the dash is failing, it must come off first.
- Rendering over pebbledash is possible only when the dash is sound, bonded and dry.
- A levelling base coat fills the stony texture before the new system goes on.
- Full reinforcing mesh is essential to stop the old surface telegraphing cracks through.
- Over-rendering and strip-and-re-render both typically sit around indicative £100–£170/m².
- Extra thickness means sills, reveals and junctions need attention.
- On solid walls with dense dash, removal and a breathable render is often wiser.
The conditions that must be true
Rendering over pebbledash works only when the existing surface can act as a stable, reliable base for the new system. In practice, that means five things.
1. It’s firmly bonded. When tapped across the wall, the dash sounds solid rather than hollow. Small isolated hollow spots can be cut out and repaired; widespread hollowness means the layer is failing.
2. It isn’t significantly cracked. Fine cracks can be dealt with during preparation; wide, numerous or recurring cracks suggest movement or failure that the new render will inherit.
3. The surface is stable. Stones shouldn’t brush off easily, and the surface shouldn’t be powdery or friable.
4. It’s dry and not linked to damp. No damp patches inside behind the wall, and no signs that the dash is trapping moisture.
5. The wall suits it. On modern cavity walls, over-rendering is usually fine. On older solid walls with dense cement-based dash, adding another layer can worsen moisture problems, and removal is often the better route.
If all five are true, over-rendering is a sound option, and it avoids the noise, dust and disruption of stripping the wall back. If not, see our guide on whether to remove pebbledash or render over it, and our pebbledash removal page for how stripping is done.
How a specialist assesses pebbledash
A proper assessment starts with a systematic tap test across every elevation, including the upper areas reached from a ladder or, later, the scaffold. Hollow areas are often marked so their extent is clear. The specialist looks for cracks and their pattern, checks how firmly the stones are held by scraping or brushing a few areas, and looks for staining, efflorescence or green growth that suggests moisture.
They’ll also ask about damp inside, look at gutters, downpipes, sills and ground levels, and establish whether the wall is solid or cavity. Some will carry out a simple pull-off or adhesion check on a test area. The outcome should be a clear recommendation for each elevation, with reasons — and you should be able to see the evidence for yourself, not just take it on trust.
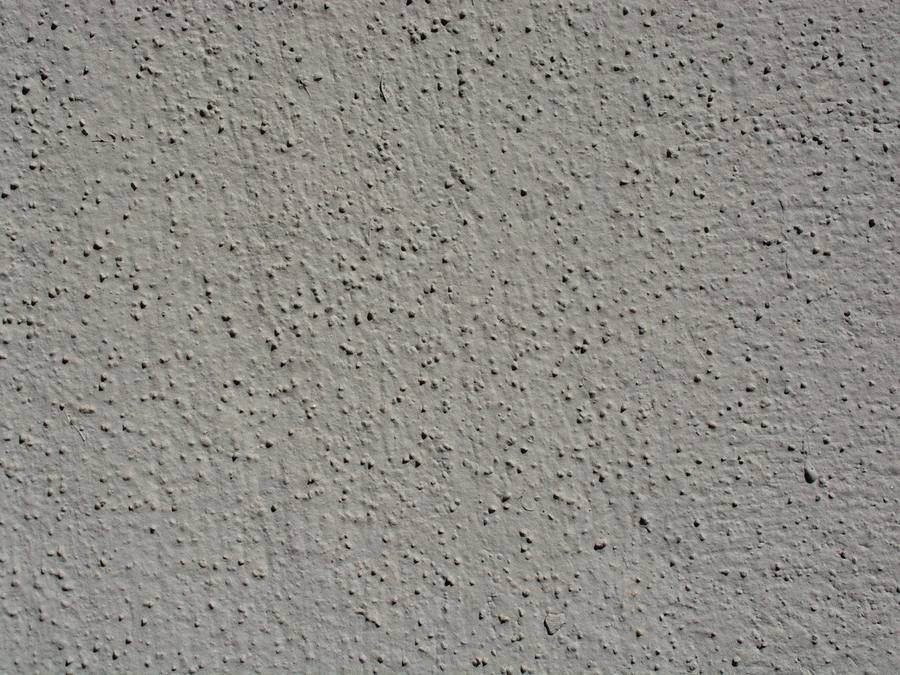
How a proper over-render is built up, step by step
1. Scaffolding and protection. Windows, doors, paths and planting are protected.
2. Cleaning. The pebbledash is cleaned of dirt, algae and organic growth, often with a biocidal treatment, and allowed to dry.
3. Removing loose material. Loose stones and weak areas are brushed or scraped off.
4. Cutting out defects. Any hollow or badly cracked areas are cut back to sound material and repaired so the whole surface is consistent.
5. Stabilising or priming. If the surface is dusty or very absorbent, a stabilising solution or bonding primer recommended by the render manufacturer is applied.
6. Beads. Corner, reveal, stop and base beads are fixed, set out to allow for the new thickness.
7. Levelling base coat. A base coat is applied to fill the stony texture and create an even surface. On heavily textured dash, this may be built up in two passes.
8. Mesh. Reinforcing mesh is bedded into the base coat across the whole wall, with overlaps at joins and extra diagonal patches at the corners of openings.
9. Primer and finish. Once the base coat has cured, the system’s primer is applied, followed by the through-coloured finish coat.
10. Making good. Sills extended or replaced where needed, fittings refitted, and the site cleared.
Why full mesh is essential when rendering over pebbledash
Old pebbledash is a cement-based layer that has been on the wall for decades. It may have fine cracks you can’t see, and it will continue to move slightly with temperature and moisture. Without reinforcement, any movement or cracking in the old layer tends to “telegraph” through into the new render, showing up as cracks in the finish.
Full-coverage reinforcing mesh bedded into the base coat spreads those stresses and bridges small movements, so the new finish stays intact. On an over-render, mesh across the whole wall isn’t optional; a quote that only offers mesh “where needed” or at openings is a warning sign. Our guide to render mesh explains how it works.
Which render system works best over pebbledash?
Thin-coat systems such as silicone render, or sometimes acrylic, are well suited to rendering over pebbledash. They’re designed to go over a reinforced base coat, which is exactly what over-rendering needs, they’re flexible, and silicone is breathable, which helps the wall manage moisture.
One-coat monocouche renders need a suitable, absorbent and even background, so they’re less commonly applied directly over pebbledash; if used, the dash usually needs a suitable base or bonding coat first, following the manufacturer’s guidance.
Whichever system is proposed, it should be one the manufacturer approves for use over existing render, with the base coat and primer they specify. Mixing products from different manufacturers can cause problems and void guarantees. Our silicone vs monocouche comparison covers the differences.
Not all pebbledash is the same
“Pebbledash” is used loosely for several textured finishes, and the type affects how easy it is to render over.
True pebbledash (dry dash) has small stones or pebbles thrown onto a wet render coat and pressed in, leaving the stones exposed. It’s the most heavily textured and usually needs the most levelling.
Roughcast (wet dash) mixes the aggregate into the render, which is thrown onto the wall as a wet mix. The surface is rough but the stones are coated, so it can be easier to level.
Spar dash uses crushed, often white or sparkling, stone chippings. Like any exposed-aggregate dash, it needs thorough levelling.
Tyrolean and other fine machine-applied textures are shallower and generally easier to over-render, though they still need cleaning, checking and a base coat. Our guide to rendering over Tyrolean covers that finish specifically.
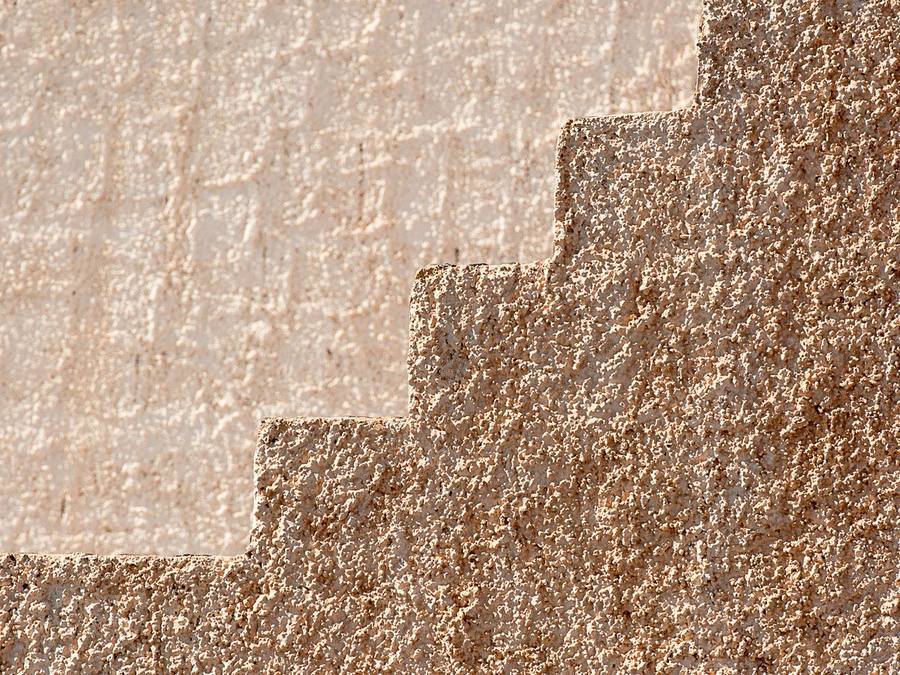
Many dashed finishes have also been painted over the years. Paint needs assessing: if it’s flaking or forms a weak layer, it may need removing or treating so the base coat can bond.
The levelling coat: the step that makes or breaks it
The levelling base coat does two jobs. It fills the deep, uneven texture of the dash to create a flat, consistent surface, and it provides the layer into which the reinforcing mesh is bedded. If it’s too thin, the stones show through, the mesh isn’t properly embedded and the finish coat goes on at uneven thickness — all recipes for cracking. If it’s applied too thickly in one go, it can slump or crack as it cures.
On heavily textured dash, specialists often apply the levelling coat in two passes: a first pass pressed hard into the texture to fill the gaps and key into the surface, then a second pass with the mesh bedded in. Each needs the right curing time. It’s slower than skimming a thin coat over the top, but it’s what makes the over-render last. If a quote doesn’t mention levelling, ask how the renderer plans to deal with the texture.
Weather and timing
Like any render system, an over-render is weather-sensitive. Base coats, primers and finishes shouldn’t be applied in frost, rain or very hot, drying conditions, and each layer needs its curing time before the next. Because an over-render involves an extra levelling stage, it usually takes a little longer than rendering a flat, new wall, though less time than stripping and re-rendering, which adds a removal stage.
On a typical semi, a properly prepared over-render is commonly a job of one to a few weeks, depending on size, crew and weather. Ask for a realistic programme at the quote stage, and how fresh work will be protected if the weather turns.
Dealing with the extra thickness
Rendering over pebbledash adds a levelling base coat, mesh and finish to an already rendered wall, so the wall gets noticeably thicker. That has knock-on effects at every edge.
Window sills may no longer project far enough to throw rain clear of the new surface, leading to staining below. Extending or replacing them is common. Reveals around windows and doors become shallower, and the new render needs neat beads where it meets frames. Junctions with neighbouring houses, porches, extensions and unrendered walls need stop beads so the extra depth looks deliberate. Fittings such as downpipes, lights, alarm boxes and meter boxes need refitting further out. And at the base, the render should finish on a bead above ground or paving level, not run into the soil.
A quote for rendering over pebbledash that doesn’t address sills and beads is likely to be incomplete.
What it costs
It’s easy to assume that leaving the pebbledash on must be the cheap option. It often isn’t much cheaper. Cleaning, cutting out weak areas, a levelling coat that may go on in two passes and full mesh take real time, and our indicative basis puts rendering over pebbledash in the same band as stripping and re-rendering.
| Scenario | Indicative cost per m² |
|---|---|
| Render over sound pebbledash | £100–£170 |
| Strip pebbledash and re-render | £100–£170 |
indicative Ballpark figures. Sills, heavy levelling, extensive cut-outs and difficult access can add to the cost.
To turn a rate into a budget, estimate the area to be rendered. As purely illustrative arithmetic, walls totalling 80m² after deducting windows and doors would come to roughly indicative £8,000–£13,600 at £100–£170 per m². That isn’t a quote for any particular house; measure or ask for your own figure.
Where a job lands within the band depends mostly on the wall: how much dash has to be cut out, how heavy the texture is, and how much detailing is needed at sills and junctions. Ask for both routes to be priced on the same wall so you can see the real difference. Our house rendering cost guide gives the whole-house picture, and our pebbledash removal cost guide covers the stripping route.
Building regulations and planning when rendering over pebbledash
Whether you render over the dash or strip it can change the paperwork. In England, Part L of the Building Regulations applies when a wall is renovated by stripping it back to the masonry and re-rendering over more than half of that wall, or more than a quarter of the whole building envelope. In that case the wall should be thermally upgraded where that’s technically, functionally and economically feasible, and building control should be notified. Applying a new render over sound existing dash doesn’t usually trigger this, which is one practical difference between the two routes. Our guide to building regulations for re-rendering explains the detail.
Planning is a separate question. Replacing a finish with one of similar appearance is generally permitted development, but swapping stony dash for a smooth coloured render changes how the house looks and may need permission. In a conservation area, National Park, National Landscape or the Broads, rendering needs planning permission. Our guide to planning permission for rendering sets out the rules. Rules differ in Wales, Scotland and Northern Ireland, so confirm with your council and building control before work starts.
Common mistakes when rendering over pebbledash
Not tapping the wall. Rendering over hollow dash is a classic cause of failure: the new system can only be as sound as the layer it’s bonded to.
Skipping the clean. Algae, dirt and dust stop the base coat bonding properly.
No levelling coat. Applying a thin finish straight over textured dash gives a lumpy surface and uneven thickness that cracks.
Mesh only at openings. Without full mesh, old cracks telegraph through.
Ignoring sills and junctions. Leads to staining, water ingress and untidy edges.
Rendering to the ground. Wicks up moisture and causes staining and breakdown along the base of the wall.
Rendering over damp. Traps moisture and worsens problems, especially on solid walls.
Each of these can make an over-render fail within a few years. Each is avoidable, and a good renderer will happily explain how they’ll avoid every one on your house. If a renderer seems unfamiliar with these points, or dismisses them as unnecessary, that tells you something useful about how carefully they’re likely to approach the job.
Solid walls: why caution is needed
On older solid-walled houses, pebbledash was often applied in a dense, cement-rich mix. These walls need to dry out through their outer face, and a dense dash can already be limiting that. Adding a further layer on top — even a breathable one — doesn’t remove the dense layer beneath, so moisture can remain trapped.
That’s why many specialists recommend removing pebbledash from solid walls and replacing it with a breathable render, often lime on period houses, rather than rendering over it. If your house is solid-walled and there’s any sign of damp, take that advice seriously. Our lime vs cement render guide explains why.
How long does an over-render last?
A properly prepared over-render on sound pebbledash, with full mesh and a quality system, can give many years of good service. Its life is tied to the old layer beneath: if the original dash eventually loses its bond, the new render will go with it. That’s the trade-off for avoiding removal, and it’s why the survey matters so much.
Ask the renderer what guarantee they offer on an over-render, and whether the manufacturer’s system guarantee applies over existing render. Some guarantees have specific conditions for this. Get the answer in writing before you accept the quote.
Wondering if your pebbledash can be rendered over? SmartMatch™ pairs you with one vetted local specialist for a free survey and an honest answer.
Get a free quote →Looking after an over-rendered wall
Once finished, an over-rendered wall needs the same light care as any through-coloured render: no painting, an occasional gentle clean on shaded walls with a suitable render cleaner (never a pressure washer), clear gutters and downpipes, and sills that throw water clear. Walk round once a year and look for any new cracks, particularly around openings, or any hollow-sounding areas, and get them checked early. Because the new render depends on the old layer beneath, catching any debonding early matters more than usual. Keep the guarantee and the system and colour details safe for future reference.
What to check in an over-render quote
A good quote for rendering over pebbledash should state: that every elevation has been tapped and what was found; how hollow or cracked areas will be cut out and repaired; cleaning and any biocide or stabiliser; the levelling base coat and how many passes; full-coverage mesh with extra at openings; beads, including base beads above ground; the named system, primer and finish; how sills, reveals, junctions and fittings will be dealt with; scaffolding; waste; VAT; and the guarantee.
If two quotes differ widely, the difference is usually in the preparation, levelling or mesh, so compare those lines first rather than the bottom figure.
Rendering over pebbledash on semis and terraces
On semis and terraces, rendering over your pebbledash leaves a junction with your neighbour’s wall, which may still be dashed. Because an over-render adds thickness, the new surface will sit proud of the neighbouring dash. A neat vertical stop bead at the party line gives a crisp, deliberate edge, and it’s important the render doesn’t encroach on the neighbour’s property. Agree the junction detail and any scaffold access with your neighbour before work starts.
Over-rendering is also much quieter and less dusty than stripping, which matters when a neighbour shares a wall. If your neighbour’s pebbledash is in similar condition, doing both houses at the same time — using the same system and colour — can share scaffolding costs and give the pair a cohesive finish.
Questions to ask your renderer
The quote checklist above covers most of what to ask. Two questions are worth adding at the survey: Is my wall solid or cavity, and does that change your advice? Is the system approved by the manufacturer for use over existing render?
A renderer who answers clearly, and can show you the hollow areas they found, is giving you advice you can trust.
Can you render over pebbledash yourself?
Rendering over pebbledash is a skilled job involving work at height, multiple layers, careful detailing and an understanding of how render systems behave. It isn’t a realistic DIY project for a whole house. Small, low-level areas such as a garden wall are more manageable for an experienced DIYer, but the same principles apply: sound surface, proper preparation, levelling coat, mesh and a compatible system.
When rendering over pebbledash isn’t the right answer
Don’t render over pebbledash that’s hollow, significantly cracked, loose or linked to damp. Be cautious on solid walls. And if the pebbledash is sound and you’re reasonably happy with it, simple maintenance — cleaning and small repairs — may be all it needs. Some homeowners also compare masonry wall coatings as a way to refresh pebbledash; they’re a different product, worth weighing on their merits.
For how over-rendering fits alongside the other render systems and routes, our exterior rendering guide is the place to start. If you’d like an honest assessment, SmartMatch™ weighs render-type experience, verified reviews, online reputation, insurance and accreditation to introduce you to one vetted local specialist for a free, no-obligation survey and quote. RenderSmart’s specialists remove pebbledash only as part of a full re-render, not as a standalone job. Most of our specialists take on projects from around £3,500, so they’re best suited to larger repairs and re-renders; for a single small job, a local builder or plasterer may be quicker. Our pebbledash removal page explains more.
Frequently asked questions
Can you render over pebbledash?
How do you prepare pebbledash for rendering?
Do you need mesh when rendering over pebbledash?
How much does it cost to render over pebbledash?
What render is best over pebbledash?
Will rendering over pebbledash crack?
Does rendering over pebbledash affect window sills?
Should I render over pebbledash on a solid wall?
How long does rendering over pebbledash last?
Can I render over pebbledash myself?
Find out if your pebbledash can stay
Tell us about your property and SmartMatch™ pairs you with one vetted local render specialist for a free, no-obligation survey and written quote.
Get a free quote →